
How are resin driveways installed?
Costs, design, installation, drying time and more
We've been installing resin drives for homes and businesses for over a decade, and our firm's reputation has grown organically. In previous years, we have conducted assessments with many different techniques; however, this particular approach has proven to be the most effective. The process usually starts with a preliminary inspection, followed by surface preparation, bordering, blending resin, applying the resin, and wrapping up with finishing touches. Keep reading to see how our step-by-step process will unfold, with photos.
Receive Your Free Quote Now
Contact Us
Phase 1: Preparing the Area
Depending on the condition of your present drive, this first step may look slightly different.
There are a number of alternative cases: we can either reuse the present frame as the base, or we might have to build a whole new base from the bottom up.
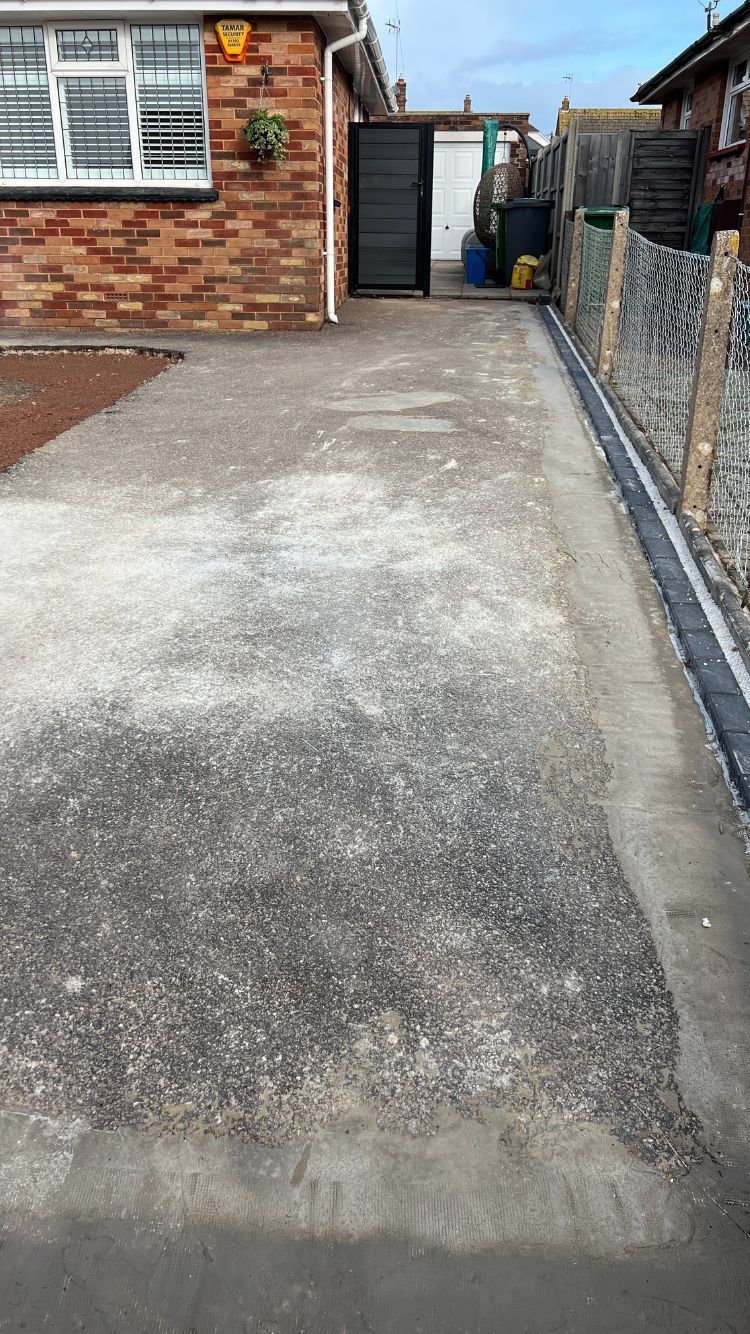
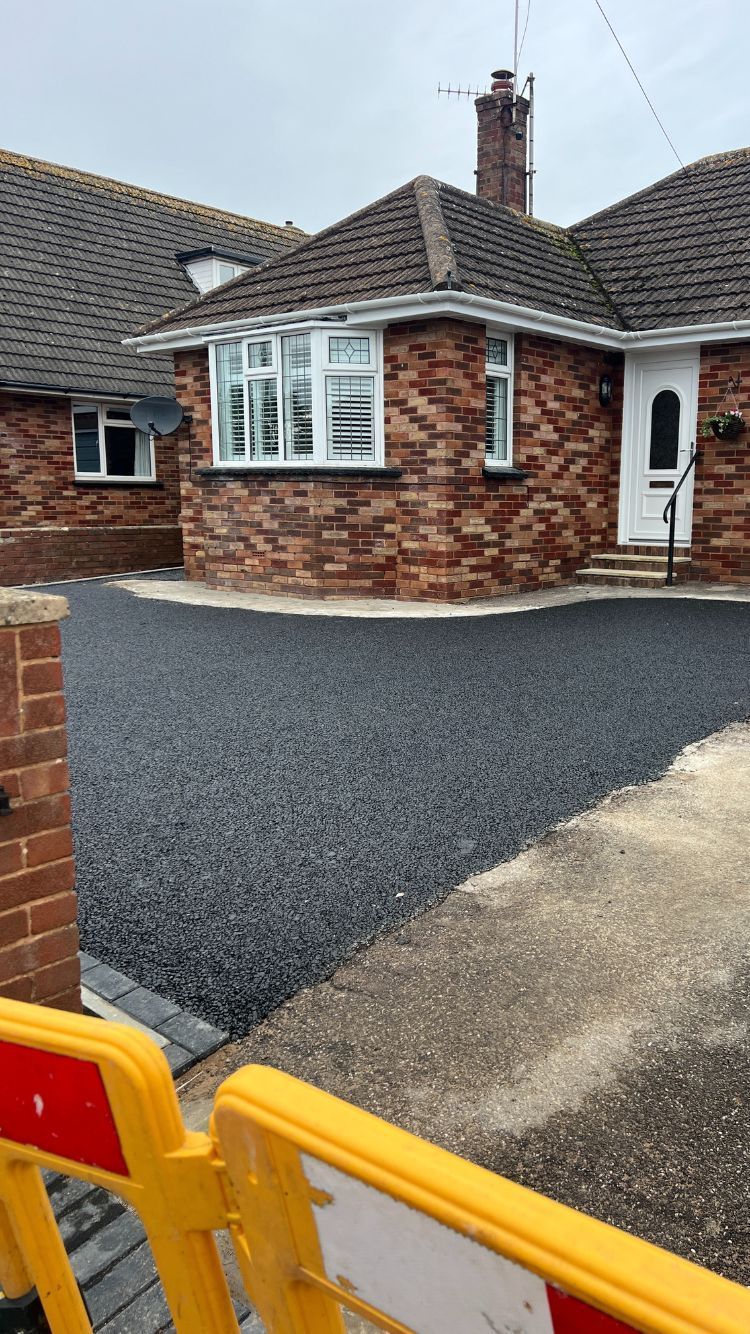
In the picture located below, we used the majority of the drive that was already there as a starting point. When a fresh surface is required, permeable concrete or tarmac tend to be the most suitable choices.
Below are some photographs to illustrate the configuration of the base that we were able to reuse:
Before prep

Following the prep
We needed to build a new base made from porous tarmac for the rest of the drive. Check out the example below:
Before applying the base
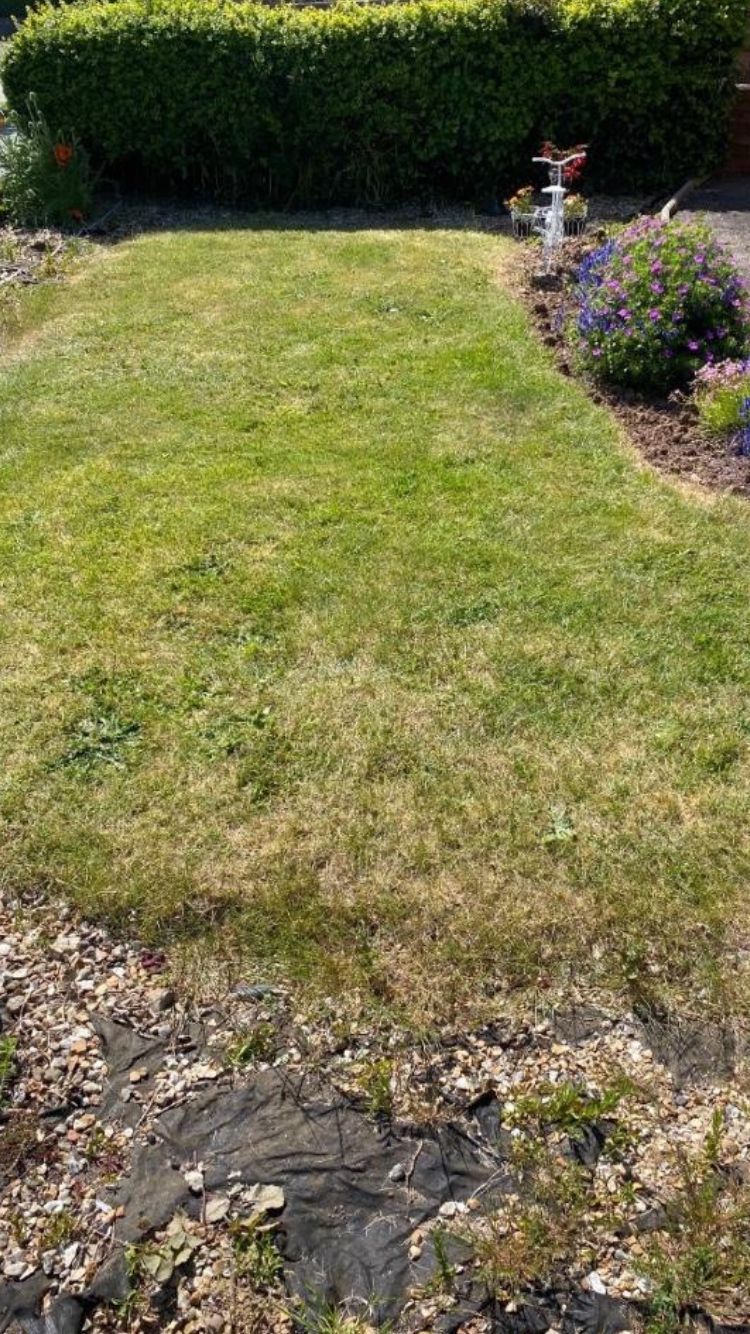
After digging up the site
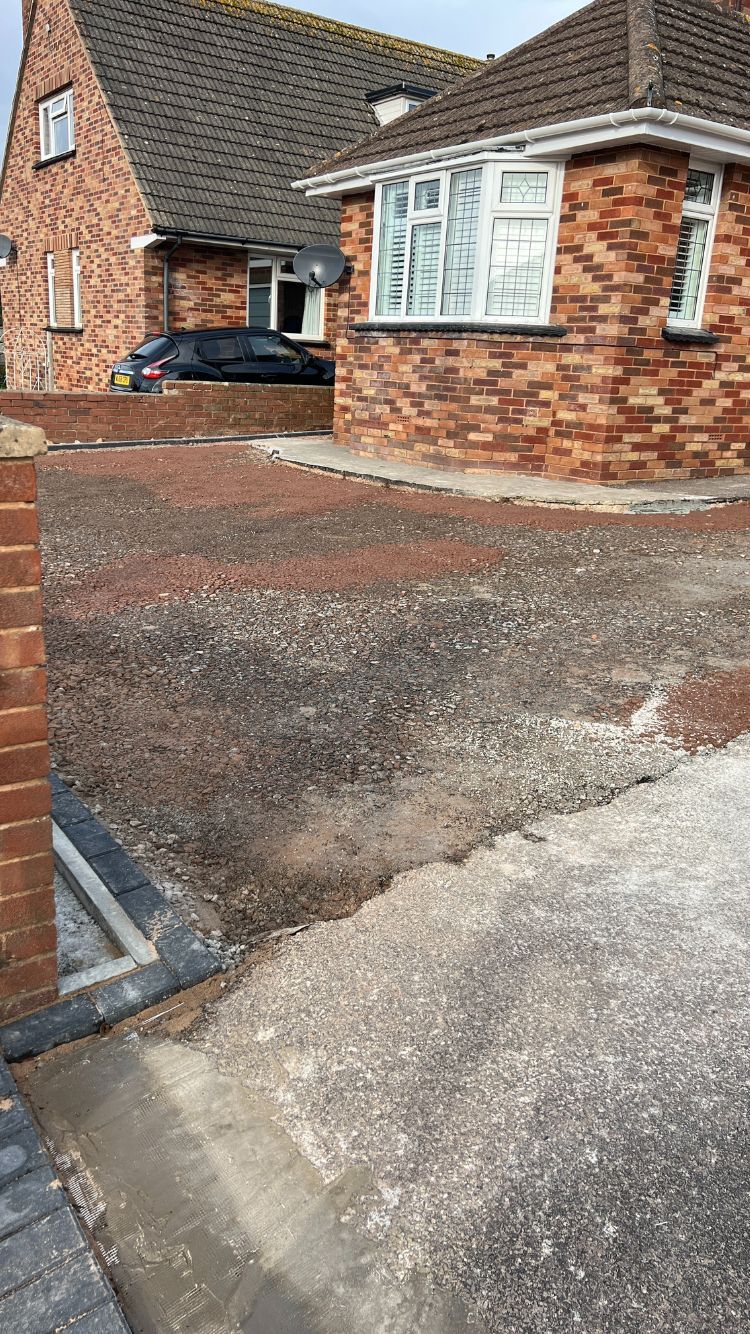
Fresh porous tarmac foundation
Professional & Reliable
Call Us Today To Request Your FREE, No-Obligation Estimate
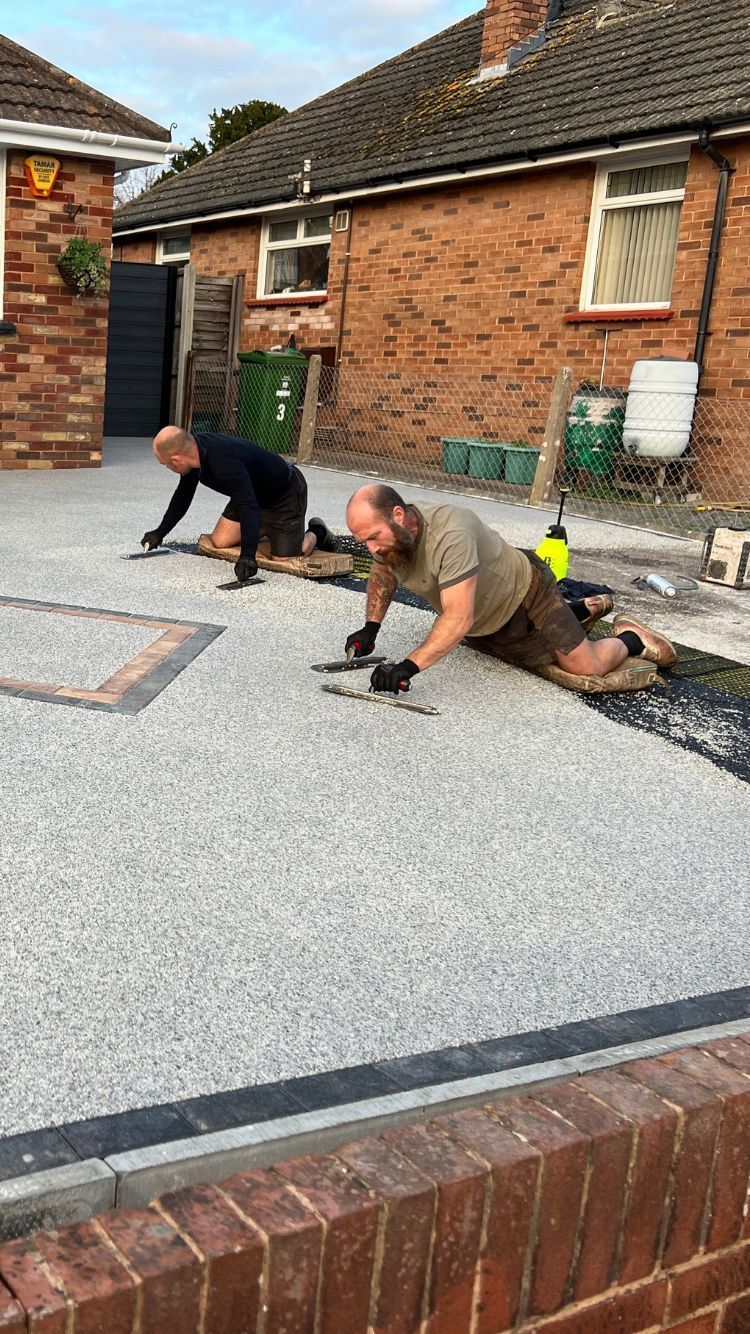
Phase 2: Laying The Resin Aggregate
After finishing the preparation phase, we are now able to lay down the resin blend, this phase entirely refreshes the driveway, and gives it a new lease of life.
Please see the below photos:
Permeable base
Throughout the resin process
Prior to the resin completion
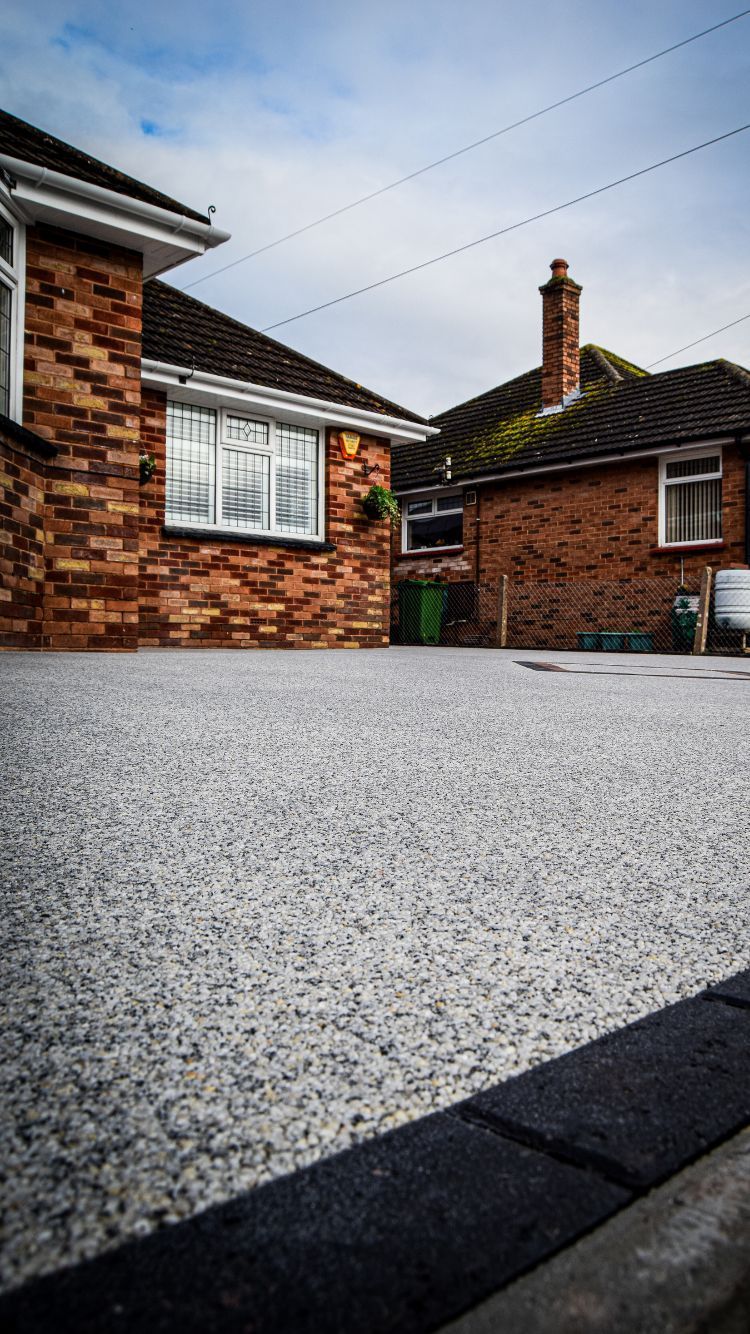
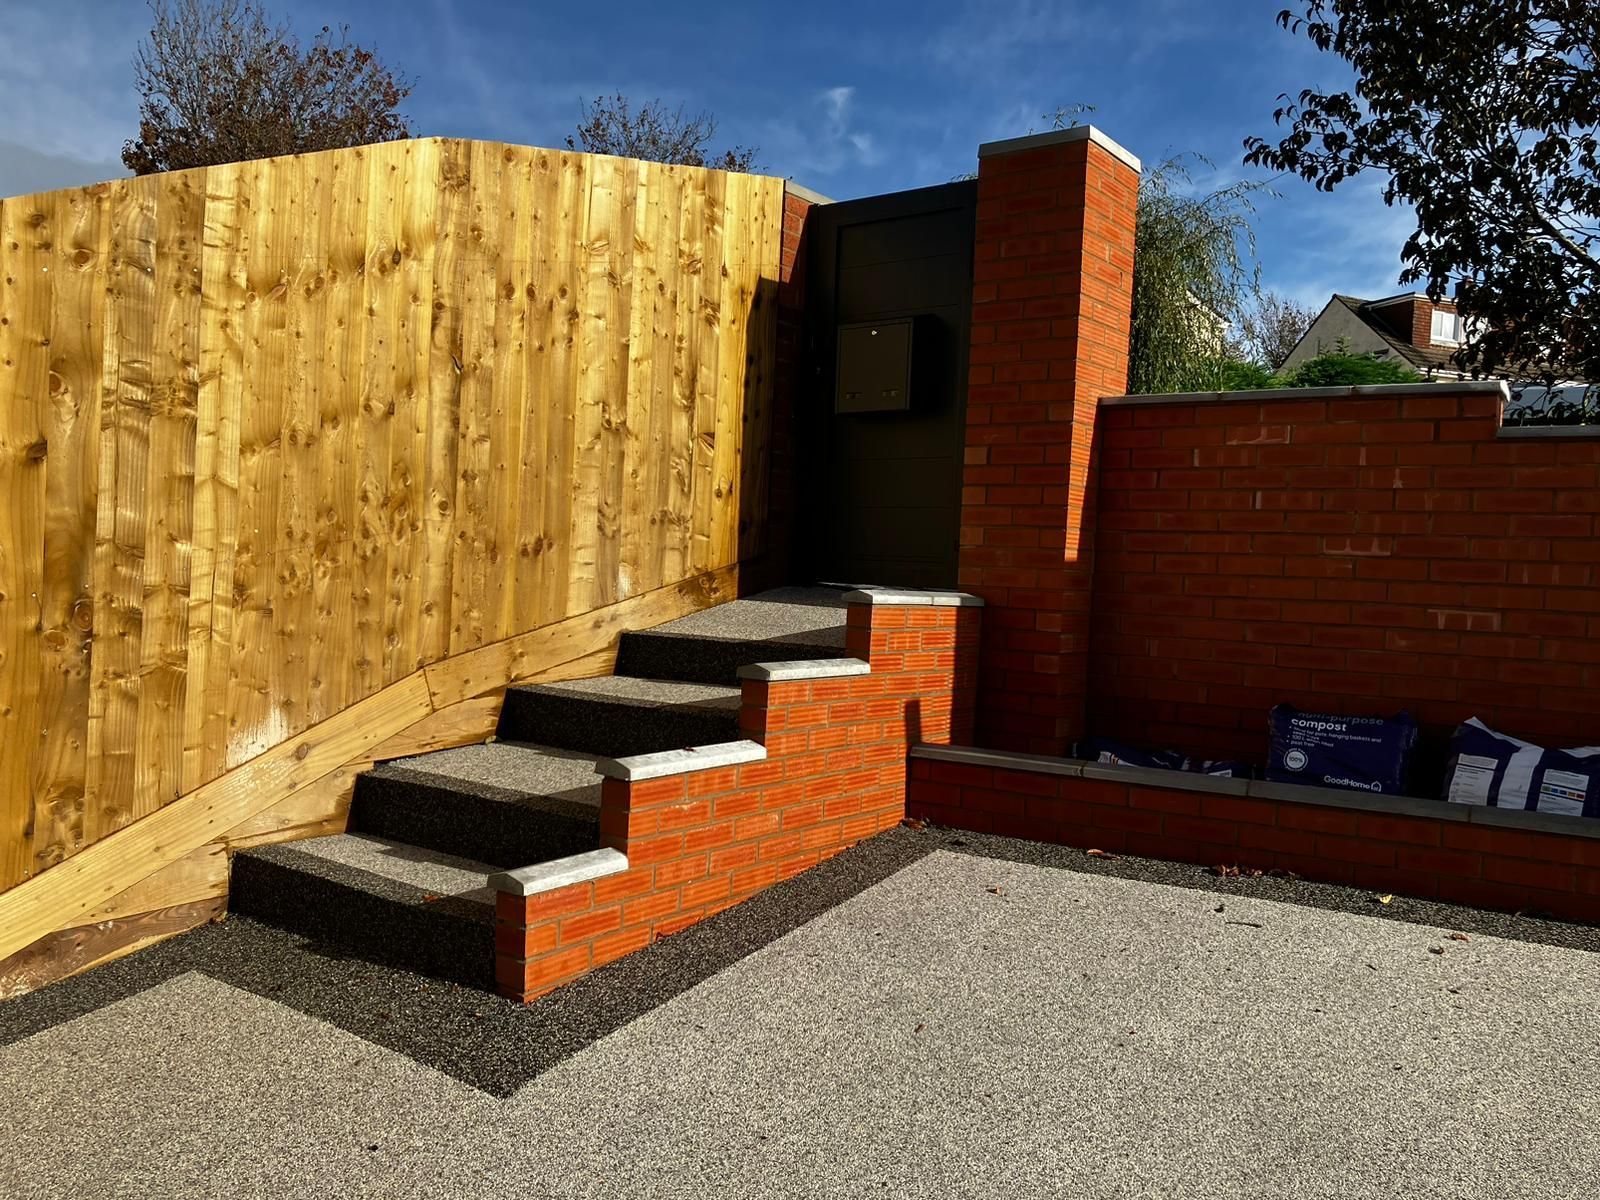
Phase 3: Permit time for curing
The driveway is almost finished and has been revived completely. The resin mixture generally requires an average of 8 plus hours to dry; however, we would strongly advise offering a period of 24–48 hours before stepping foot on it, and 48 hours before parking your car on the area.
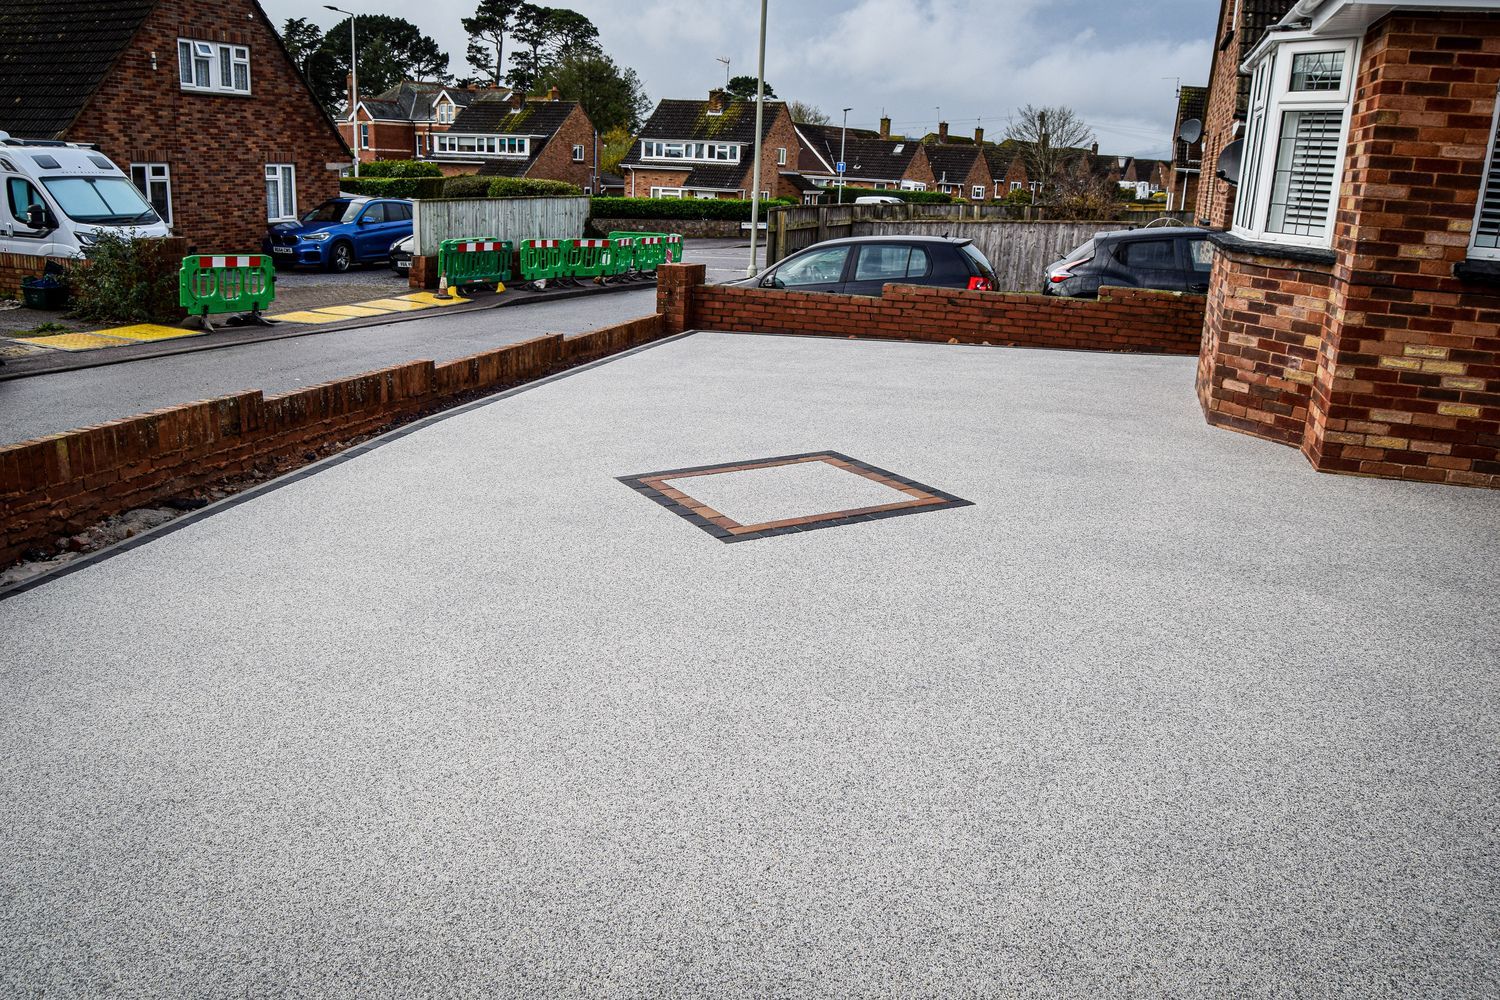
To show you how amazing our transformation really is, we've got a number of photos from the very beginning to the very end. We are extremely enthusiastic about the restoration of driveways, which is most definitely an art skill.
Please see below for more pictures of our completed work:


Check out our YouTube video here: